Installing the Givi E52 Top Case on a BMW K1200RS
If you find this page useful, please take a moment to email me to let me know my effort wasn't wasted!
The Order
Based on recommendations from the K12RS Forum I used Givi's main web site, http://www.givi.it, to select the case. I chose the Maxia E52 since I want to be able to store two helmets or other large items. Givi's info on installation options was pretty scarce. However, I believe the same hardware will work on the other "Monokey" top boxes, like the E50, E460, E360, E45, and so on.Givi USA's web site at http://www.giviusa.com/ was almost useless, other than to provide a dealer list when I found the mount was backordered and I tried (unsuccessfully) to find one in stock somewhere.
Also based on K12RS Forum posts, I used Arizona Motorsports' online shop at http://www.azmotorsports.com/ to order:
Maxia E52N (the N means no paint), without the brake light
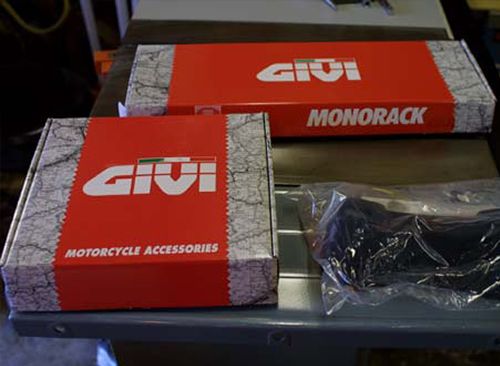
680F Monorack mount (specific to the K1200RS; note that some documents still indicate that this mount is only for up to 2001 K1200RS, but it does work on the 2002!)
E95 backrest
I was generally happy with Arizona Motorsports. It did take a little prodding to find out the 680F was backordered at Givi, and the shipping notice email they promised never came, but the stuff arrived a couple of weeks earlier than expected, so I'll take the surprise! And they made picking the right mount easy (though they need to update their site for the 2002 model year!)
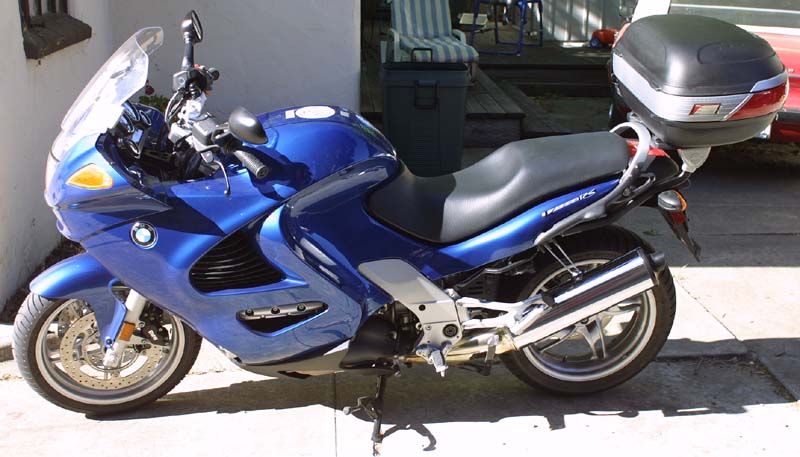
My bike is a 2002 model (Evo brakes, so a bit of extra plumbing and wiring). It has the BMW side cases, but does not have the BMW tail rack. The install might be a tiny bit easier on earlier bikes.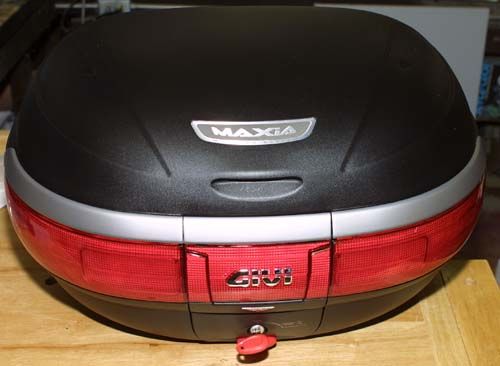
Overview
Here's how the system works. A steel bracket mounts on each side of the bike, supported at the front by the same bracket the holds the side case mount and in the middle by a strap-like bracket bolted to the same place as the standard grab bar. Onto these brackets fit Givi's signature "ball and socket" mounting brackets, and on top of those is the "plate" which can be used as a tail rack on its own, or hold a variety of Givi cases.No permanent modification to the bike is required, and nothing has to be left off (e.g., the stock grab rail stays in place).
Tools
13mm socket (with ratchet & extension)
12mm open end wrench
3 metric hex (allen) wrenchs
A torx driver
- Philips screwdriver
Step-by-Step Installation
DisassemblyRemove the side cases and seat
Remove the side case mounts by removing the two allen screws at the rear and the large allen bolt under the front of the mount.
Remove the body panels that are under/beside the seat (the ones with the K1200RS script on them): Take out 3 torx-head screws (inside near the grab rail, under side near the middle, and forward, overlapped with the large side panel), then gently pull the panel out at the rear, then rotate it up at the rear to free it from a rubber locating pin near the front, then slide it back to free it from under the forward side panel.
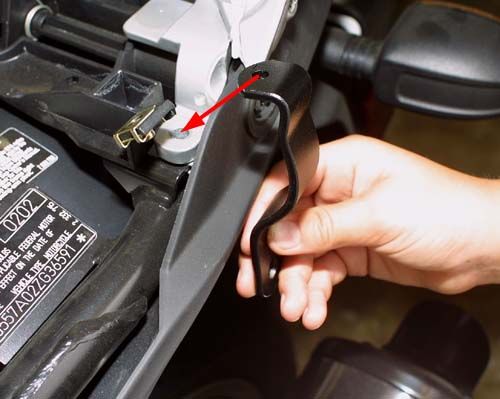
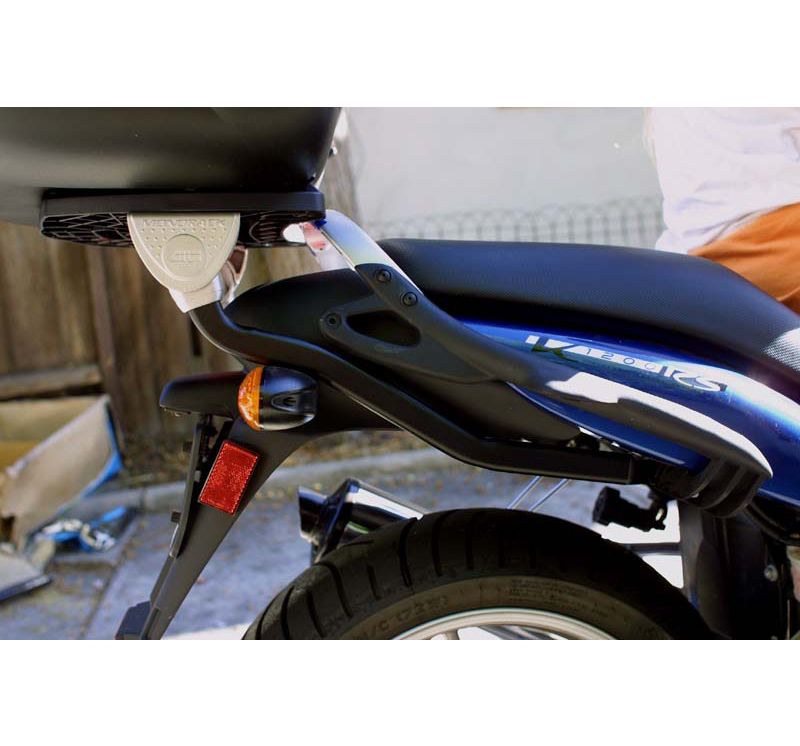
To provide easier access, remove the Philips head screw holding the black "tail" faring and fender on each side (shown being removed in the photo).
Remove the 2 Allen bolts at the forward edge of the grab rail.
Installation
Mount the BracketsGently pull the black tail plastic out and slide in the brackets that are formed from flat steel so the top hole lines up with the bolt hole for the grab rail.
Use the 6x25 allen bolts (slightly longer than the originals) and the stock washers to secure (just snug for now) the brackets.
Replace the Philips screws for the tail plastic and fender now. (I waited until later and regretted it.)
Slide one of the large brackets into place. The front goes behind the bracket the side case mount attaches to. Put one of the Givi-supplied washers onto one of the 13mm hex bolts and, from the "inside", start it through the hanging bracket you installed into the main bracket to hold that bracket in place.
Take the washer off the big Allen bolt that held the front of the side case mount and put it on the longer Allen bolt from Givi. Loosely reinstall the side case mount. Make sure you don't run into cables or hoses as you install the bolt. Note: you might want to reinstall the side of the bodywork first, but I was concerned that I would have difficult access for some of the following steps; the tradeoff was that I had to be very careful to not scratch it up as I wiggled it into place behind the side case mounts later.
Replace the Allen screws at the back of the side case mount.
Tighten the side case mounting hardware.
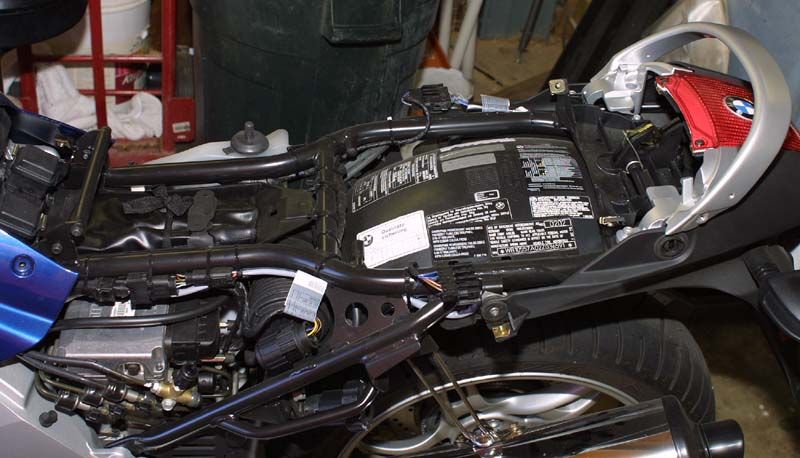
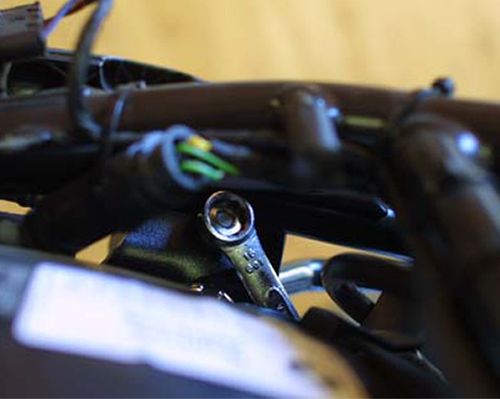
The longer bolt in the front sticks through far enough that it passes through the Givi bracket and allows a special nut (Givi's term...) to be put on to hold the new bracket in place. This nut is difficult to tighten. I couldn't get a socket on it, but was able to get a box end wrench on it from below. I also found a couple of hoses were in way on the right side. I clipped the tiewrap holding them, and, after tightening the nut, put another tiewrap on. On the left side, there was something (the electrical connection visible in the photo) in the way, but it was willing to be moved aside a bit (and put back afterwards)
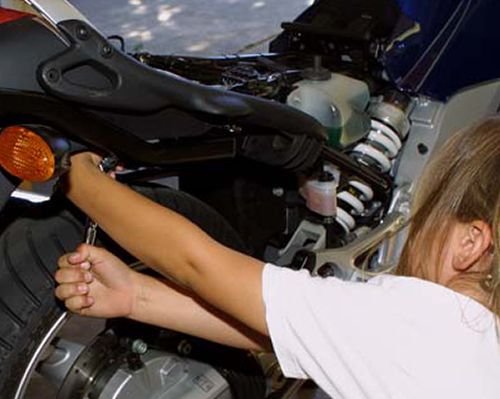
Tighten the rear hanging bracket's bolts, upper and lower (or, if, like me, you have a helper, have him/her do it!)
Repeat for the other side if you didn't do them together. :-)
On both sides, slip the "axel nut" into the bracket so that the threaded hole points up.
Slip the "ball" part of the joint over the bracket so that the smoother side faces in (towards the middle of the bike).
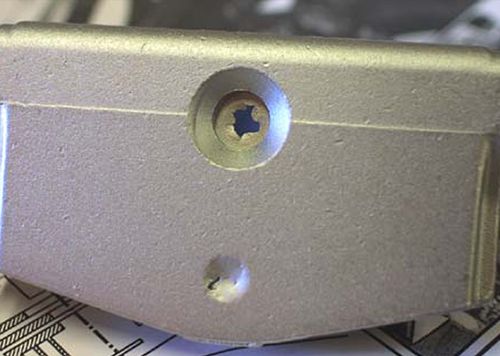
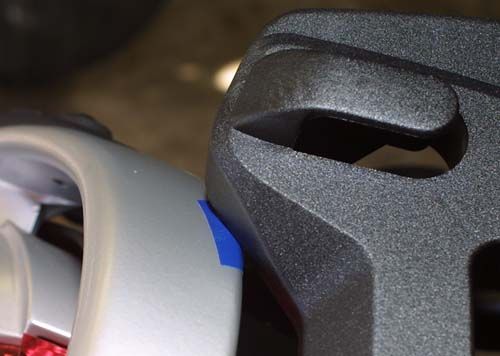
Set the "socket" on top of the ball (don't worry a lot about making it horizontal yet) with the Givi logo facing out. Note: there was a bit of casting flashing in the bolt hole (see photo) of my sockets which I cleaned out first.
Rest the "plate" on top of the "sockets", centered left to right with the bike, not the brackets (which may be a bit off center).
I installed the washers that had the longish flat side into the slots in the plate. I wasn't sure which to use, but those seemed the best.
Get the long Allen bolts started through the washers, plate, socket, and ball into the axel nut. You may need to stick a thin screwdriver or the like into the channel to align the axel nut so you can start the bolt.
While the bolts are still loose, make the final adjustment of the socket angle to the ball. I found that to get the angle I wanted the plate was closer to the grab rail than I liked, so I put some rubber tape (see blue in photo) on the grab rail to serve as a rub strip and protect the paint there.
Tighten up the Allen bolts.
Install the plastic trim caps over the bolts.
Install the 4 rubber pads into the 4 holes in the plate.
Reassembly
Carefully fit the faring pieces back into place and install the 3 screws on each side. Note that the longer screws go in the front holes (where two layers are being held).
Replace the seat (and side bags if you wish).
Save the bolts you took off in case you need to return the bike to stock form later.
- Finally, get your trusty sidekick to shine up the pipe!
Results
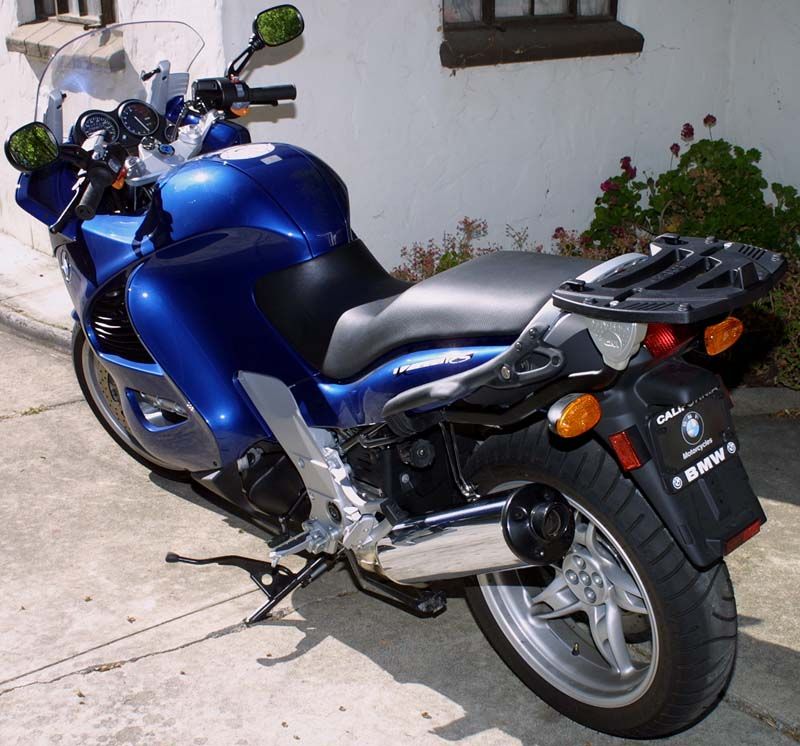
I believe the brackets integrate nicely to the bike. The mounting plate definitely sticks out a bit when the E52 isn't mounted, but not horribly. I actually like the look with the E52 and no side bags better than just the side bags, myself. I like the function of the E52, and it feels quite solid. My only beef with it is that it doesn't latch onto the mounting plate easily. I find I have to press up from underneath to get it to latch in. Maybe that will loosen up later. I haven't noticed any substantial change in the feel of the bike, and my wife and 7-year old son are much happier on the back.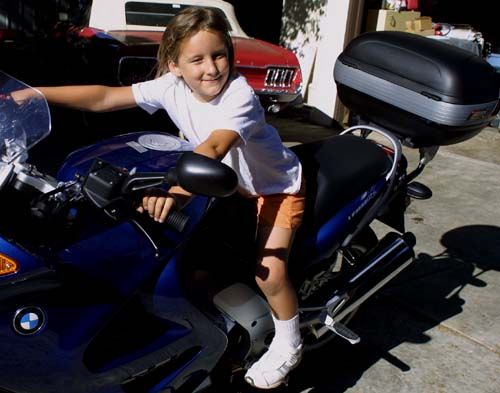
Enjoy your K12! We do!